
Page Speed for WordPress: A Realistic Optimisation Stack
A practical WordPress speed stack: caching, image optimization, script control and hosting that actually move Core Web Vitals—without breaking your site.
Table of Contents
WordPress page speed advice tends to fall into two extremes: vague lists of best practices, or deep technical guides that require a developer for every step. This is neither. It’s the stack of tools and settings that meaningfully move Core Web Vitals scores on a standard WordPress installation — without a full rebuild, without disabling your theme, and without breaking things in the process.
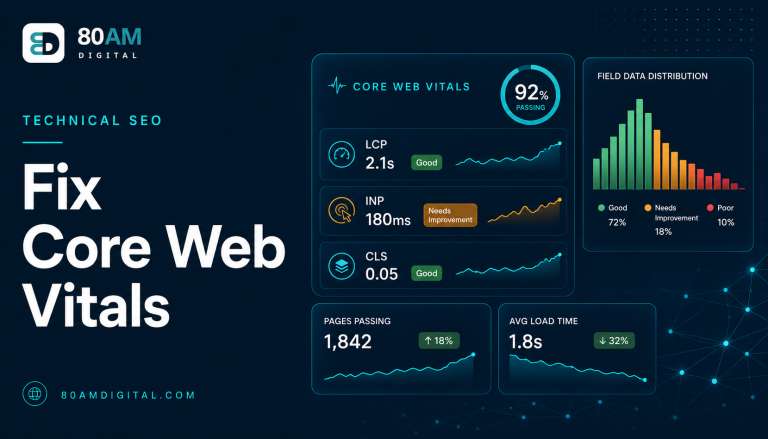
The three metrics that matter for Google’s Page Experience assessment: LCP (Largest Contentful Paint — how quickly the main content loads), INP (Interaction to Next Paint — how quickly the page responds to user interaction), and CLS (Cumulative Layout Shift — how much the page layout shifts as it loads). Each has distinct causes and fixes.
The Short Version
- Fix the stack in order: hosting first, then caching, then images, then scripts — each layer makes the next one’s gains more visible.
- Moving from shared to managed WordPress hosting is usually the single biggest speed win, and requires no plugin or theme changes.
- Images are typically the largest assets on a page and the primary LCP driver — WebP conversion, lazy loading, and LCP-element preloading address most of it.
- Never run multiple caching or minification plugins at once — pick one comprehensive tool and disable the rest to avoid conflicts.
The four-layer stack at a glance
| Layer | What it fixes | Typical tools |
|---|---|---|
| Hosting | High TTFB (Time to First Byte) that undermines every other fix | Kinsta, WP Engine, Cloudways, Flywheel |
| Caching | Slow PHP/database page generation on every request | WP Rocket, W3 Total Cache, host-level caching |
| Image optimisation | Poor LCP from large, unoptimised, non-lazy-loaded images | ShortPixel, Imagify, Smush |
| Script and CSS control | Poor INP and render-blocking resources from unused plugin assets | WP Rocket, Asset CleanUp Pro, Cloudflare |
Layer 1: Hosting
The most impactful performance decision isn’t a plugin — it’s the hosting environment. Shared hosting with slow server response times means a high Time to First Byte (TTFB), which makes every subsequent performance fix harder to achieve. A server that takes 800ms to respond before serving any content is fighting against every optimisation stacked on top of it.
Managed WordPress hosts (Kinsta, WP Engine, Cloudways, Flywheel) are designed specifically for WordPress and include server-level caching, PHP 8.x by default, and infrastructure tuned for typical WordPress request patterns. For most sites, moving from shared hosting to managed hosting is the single biggest speed improvement available — and it doesn’t require touching a plugin or theme.
Layer 2: Caching
Page caching serves a pre-built HTML copy of each page to visitors rather than regenerating the page from PHP + database on every request. The performance difference is significant: a dynamically generated WordPress page might take 400–800ms to build; a cached version serves in under 50ms.
Plugin options: WP Rocket is the most comprehensive (paid). W3 Total Cache and WP Super Cache are capable free alternatives. If you’re on managed hosting, the host often provides their own caching layer — use that rather than a plugin that may conflict with it.
Enable: page caching, browser caching (HTTP headers that tell browsers to cache static assets), and GZIP/Brotli compression (reduces file transfer size). Most caching plugins handle all three.
Layer 3: Image optimisation
Images are typically the largest assets on a WordPress page and the primary driver of poor LCP. The fixes:
- Serve next-gen formats: Convert images to WebP (or AVIF where supported). WebP images are typically 25–35% smaller than equivalent JPEGs. Plugins like ShortPixel, Imagify, or Smush handle conversion and rewrite image URLs automatically.
- Lazy load below-fold images: Images below the visible area on load shouldn’t block initial rendering. WordPress 5.5+ adds the
loading="lazy"attribute natively on most images. - Preload the LCP element: The hero image or above-fold image that constitutes your LCP element should be preloaded — add
<link rel="preload" as="image" href="...">in the <head>. Some page builders and performance plugins have a setting for this; otherwise, add it via a plugin or functions.php snippet. - Serve correct dimensions: Uploading a 2400px wide image and displaying it at 800px wastes bandwidth. Upload images at the size they’ll actually be displayed, or use WordPress’s image size functions to serve appropriately sized versions.
Layer 4: Script and CSS control
WordPress themes and plugins often load JavaScript and CSS on every page, regardless of whether those pages use the plugin’s features. A contact form plugin loading its scripts on every post wastes load time on pages that have no form. A slider plugin loading its library on pages with no slider does the same.
- Remove unused scripts: WP Rocket’s “Remove Unused CSS” and “Delay JavaScript Execution” features handle the most impactful cases. Alternatively, Asset CleanUp Pro gives granular control over which scripts and styles load on which pages.
- Defer non-critical JavaScript: Scripts that don’t affect above-fold content should load after the page has rendered. Add
deferorasyncattributes, or use a plugin that does this automatically. Be careful: some scripts break if deferred — test thoroughly after enabling this. - Use a CDN: A content delivery network serves static assets (images, CSS, JS) from servers geographically close to the visitor. Cloudflare (free tier) is the most accessible option for WordPress — it reduces load times for visitors outside the server’s geographic region and provides additional caching.
For how page speed connects to Core Web Vitals scoring, see how to fix Core Web Vitals and the specific guide on INP.
A worked example: a heavy theme on shared hosting
A services business running a page-builder-heavy theme on basic shared hosting had a PageSpeed Insights mobile score in the low 30s, with TTFB alone accounting for over 900ms before any content began rendering. The site also loaded a slider library, a forms plugin’s full CSS bundle, and an unoptimized 1.8MB hero image — on every single page, including ones that used none of those features.
The team worked the stack in order. Moving to managed WordPress hosting brought TTFB down to roughly 180ms immediately, with zero plugin changes. Adding page caching on top reduced repeat-visit load times further. Converting the hero image to WebP and adding LCP preloading cut the image payload from 1.8MB to roughly 320KB. Finally, using Asset CleanUp Pro to stop loading the slider and forms CSS on pages that didn’t use them removed render-blocking weight site-wide. The mobile PageSpeed score moved from the low 30s to the mid-80s, and Search Console’s Core Web Vitals report showed the share of “Good” URLs rise from under 20% to over 90% within the following month’s data window.
Frequently asked questions
Stack it in order, test between each layer
The performance stack works best when implemented in order — hosting, then caching, then images, then scripts. Test Core Web Vitals between each layer to understand which changes made the difference. This avoids the common mistake of enabling five features at once and not knowing which one helped (or broke something).
If your WordPress site’s Core Web Vitals are failing and you’d like a diagnosis of what’s causing the scores, get in touch.